Ingredients
Equipment
Method
Step 1 – Pour the Glue (Start Calm, Not Rushed)
- Take a large bowl and pour in one cup of white glue.
- Pause for a second.
- Look at it.
- It’s plain. Boring. Slightly shiny. Totally normal.
- Give it a gentle stir just to smooth it out. No aggressive mixing yet. This isn’t a race.
Step 2 – Add Shaving Cream (This Is Where It Gets Fun)
- Now add about two cups of shaving cream.
- And yes, it will look like a fluffy cloud suddenly appeared in your bowl.
- Mix slowly.
- Then a bit faster.
- Then slow again.
- You’ll notice the mixture becoming airy and light — almost like whipped frosting. Which, by the way, looks edible but absolutely is NOT. Please don’t taste it. Been there as a kid. Regret level: high.
Step 3 – Baking Soda Time (Small But Important Step)
- Add one teaspoon of baking soda.
- Not a tablespoon.
- Not “a lot.”
- Just a teaspoon.
- Mix thoroughly until everything looks smooth. No powder lumps. No dry pockets. Just a soft, fluffy base.
Step 4 – Divide For Rainbow Colors (Slow Down Here)
- Now split the mixture into separate bowls depending on how many colors you want.
- Classic rainbow setup:
- Red
- Orange
- Yellow
- Green
- Blue
- Purple
- Add a few drops of food coloring into each bowl.
- Here’s a real tip — start with less color than you think you need.
- You can always add more.
- But fixing overly dark slime? Ugh. Annoying.
- Mix each color slowly and enjoy the process. This part is oddly relaxing. Almost meditative, honestly.
Step 5 – Activate The Slime (Patience… Seriously)
- Now comes the sensitive part.
- Add contact lens solution a few drops at a time while mixing.
- Not a full pour.
- Not a rush.
- Drops.
- Mix.
- Check texture.
- Repeat.
- You’ll notice the slime slowly pulling away from the bowl edges.
- That’s the exact moment you want.
- If it’s still sticky, add a tiny bit more activator.
- Tiny.
- Not dramatic.
- Over-activating is the number one mistake. And yes… I’ve ruined batches by doing that.
Step 6 – Add Air-Dry Clay (The Butter Texture Moment)
- Now this is the real transformation step.
- Take a chunk of soft air-dry clay and knead it into each colored slime portion.
- At first?
- It will feel weird.
- Sticky.
- Slightly messy.
- Kind of stubborn.
- Keep kneading.
- Don’t give up early.
- After 2–4 minutes, the texture suddenly changes. It becomes soft, smooth, stretchy, and — finally — buttery.
- That’s the moment you’ll go: “Ohhh… now I get it.”
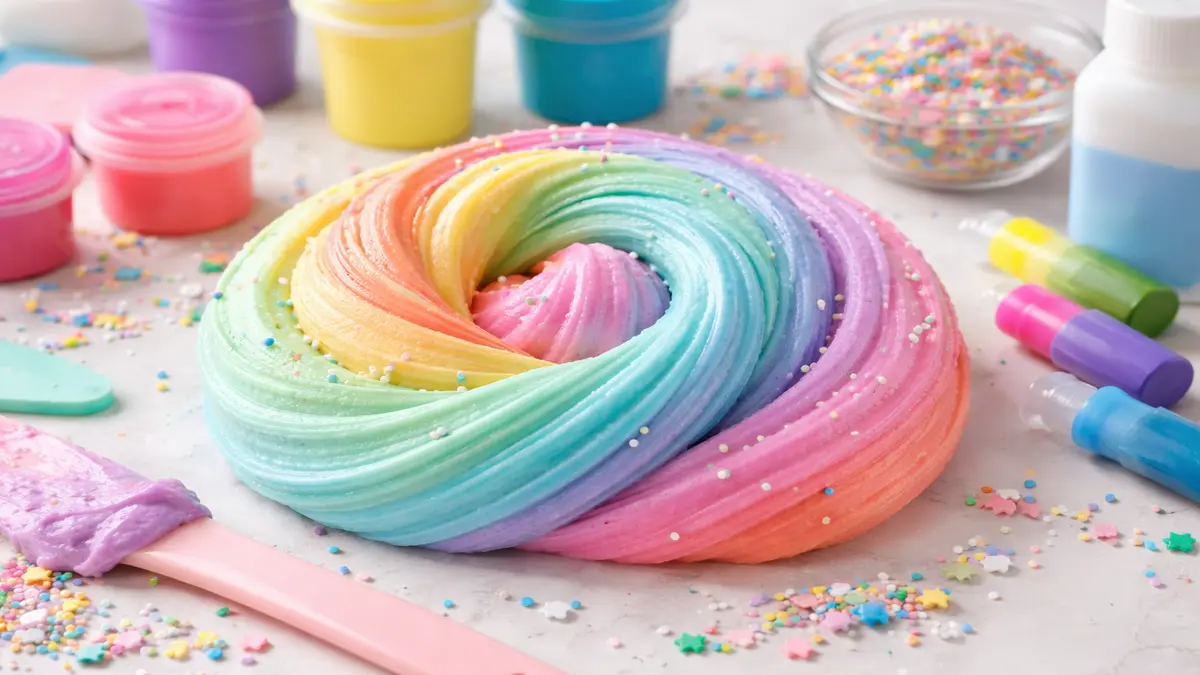
Step 7 – Creating The Rainbow Swirl (My Favorite Part)
- Place all colored slimes side by side on a clean surface.
- Then gently fold them together.
- Not aggressively mixing.
- Not smashing.
- Just fold… stretch… twist… slowly.
- The colors will naturally swirl into a beautiful rainbow pattern.
- And honestly? This part never gets old.