Ingredients
Equipment
Method
Step 1: Start With the Glue
- Pour your white glue into the bowl.
- Pause for a second.
- This is the base of everything. If you rush here, the texture later feels off.
- Add baking soda. Stir gently. Not aggressively. We’re not angry at the glue.
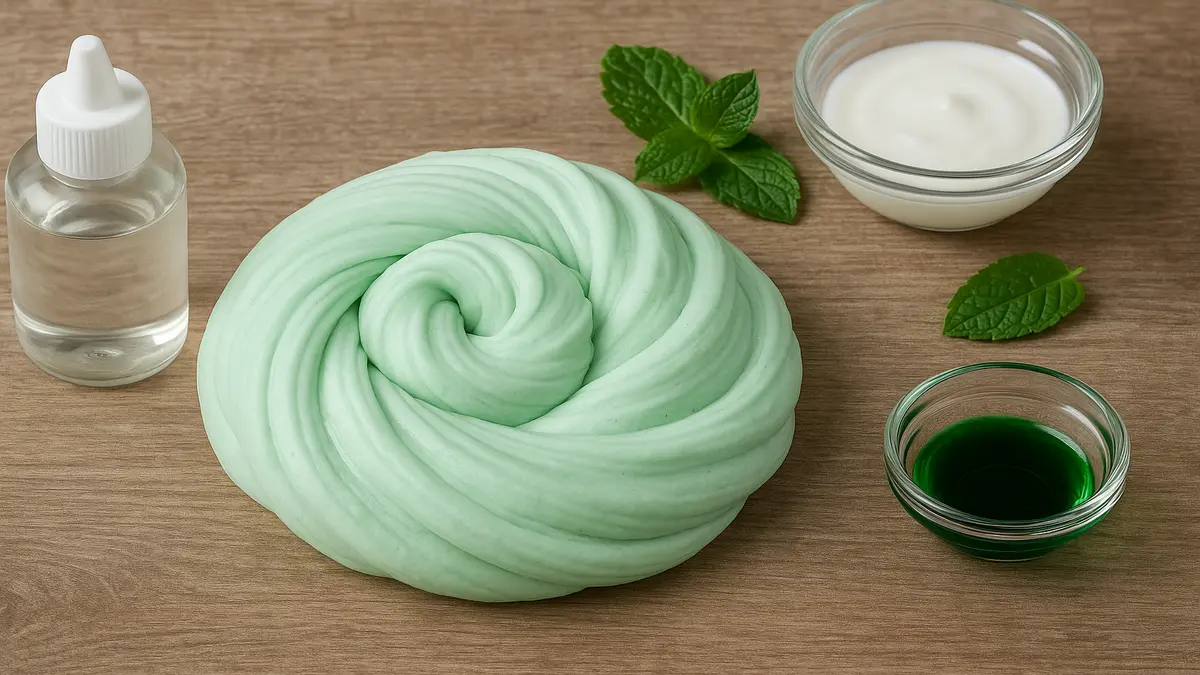
Step 2: Add the Minty Smell
- Now the fun part.
- Add mint fragrance oil — start with 5 drops.
- Smell it.
- Want more? Add one or two more. Don’t overdo it or it’ll smell like toothpaste on steroids.
- Optional: Add green food coloring. One drop goes a long way. Pastel green looks nicest, honestly.
Step 3: Activate the Slime
- Slowly add contact lens solution.
- I mean slowly. Like… half a tablespoon at a time.
- Stir.
- Watch it pull away from the bowl.
- If it’s sticky, add a few drops more. Don’t panic and dump everything in.
- This part feels magical every time.
Step 4: Butter Time (My Favorite Part)
- Take your soft air-dry clay.
- Flatten it slightly.
- Press it into the slime.
- Fold. Stretch. Squish.
- At first it looks messy. Wrong, even.
- Keep going.
- After a minute or two — boom.
- Butter slime texture unlocked.
Step 5: Final Touch
- Rub a tiny bit of hand lotion on your hands. Knead the slime once more.
- This step is optional… but wow, it makes a difference. Softer. Smoother. Less sticking.
Texture Check – Did You Get It Right?
- Your minty butter slime should:
- Stretch slowly without tearing
- Spread like soft butter on a table
- Not stick to fingers
- Smell fresh, not overpowering
- If it’s too sticky → add 2–3 drops contact solution
- If it’s too stiff → knead with warm hands or add lotion
- Slime is forgiving. Unlike baking