Ingredients
Equipment
Method
Step 1: Crush the graham crackers
- If you already have crumbs, cool. If not, toss crackers/biscuits into a zip bag and crush them.
- Rolling pin works. A heavy bottle works. Your fist works (careful though).
- It’s honestly kind of satisfying.
- You want a crumb texture like sand. But if you’ve got a few chunky bits? Keep them. Adds crunch. Life isn’t perfect.
Step 2: Mix the sticky base first
- In your bowl, add:
- peanut butter
- honey or maple syrup
- melted butter (if using)
- vanilla
- pinch of salt
- Mix it until it looks smooth and glossy.
- At this stage it smells like “dessert promise.”
- Also… you’re allowed to taste. I always taste.
Step 3: Add crumbs and mix
- Add graham crumbs slowly and stir. It’ll start turning into this thick, dough-like mixture.
- This is the moment where you’ll think:
- “Is this too dry?”
- Then you’ll mix again and go:
- “Oh wait… no. It’s fine.”
- If it’s actually dry though, add a tiny splash of honey/maple. Like 1 teaspoon at a time. Don’t dump it all at once.
Step 4: Chocolate + marshmallows go in
- Now throw in:
- chocolate chips
- half the mini marshmallows
- Mix gently. Don’t smash the marshmallows too much. They’ll survive, but still… be kind.
- You’ll notice the dough becomes more “bite-friendly.” Like snackable cookie dough.
Step 5: Roll into balls
- Grab small portions and roll them into bite-sized balls. Around 1 to 1.5 inches.
- If it sticks to your hands (it probably will), do one of these:
- chill the dough 10 minutes first
- rub a tiny bit of butter on your palms
- wet hands slightly (just a little)
- This part is messy. But it's messy. Like “I’m actually cooking” messy.
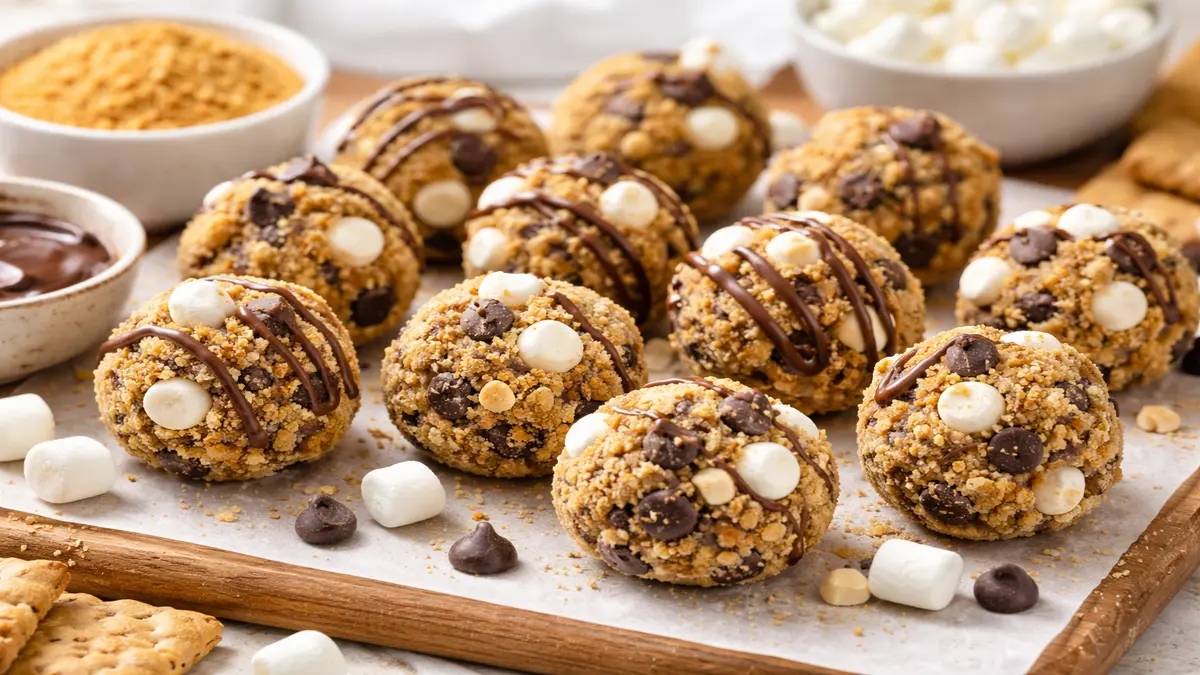
Step 6: Make them look extra s’mores-y
- This is optional but fun:
- Press extra marshmallows on the outside.
- Roll some bites in graham crumbs.
- Or drizzle melted chocolate over the top.
- Now they don’t look like random snack balls… They look like planned desserts. And people are impressed. Love that.
Step 7: Chill
- Put them in the fridge for 30–45 minutes.
- They firm up, flavors settle, texture becomes perfect.
- And yeah… you’ll probably eat one before they chill fully. It’s basically impossible not to.