Ingredients
Equipment
Method
Step 1 — Wake up the yeast
- Warm milk. A little sugar. Sprinkle yeast on top.
- Wait.
- Don’t poke it. Don’t rush it. I know, I know — we’re impatient… but yeast wants a moment. Little foamy bubbles = yes. No foam = start again (I’ve cried here before… it happens).
Step 2 — Mix the dough
- Into a bowl:
- Flour… salt… remaining sugar… egg… butter… yeast mix…
- Now stir.
- It’ll look shaggy. Imperfect. Like “hmm is this right?”
- Yep — it is.
- Knead gently. Not aggressively — we’re not fighting it.
- Just fold… press… fold…
- Till smooth-ish.
Step 3 — Let it rise
- Cover bowl.
- Walk away.
- Drink tea. Check bacon. Stare into space.
- About an hour — dough doubles. Kinda puffy. Soft. Like a pillow you want to poke.
- (yes… I poke it every time)
Step 4 — Shape the doughnuts
- Roll dough.
- Not thin… not thick… just doughnut-thick (you’ll feel it — trust me).
- Cut circles. Then little holes.
- If you don’t have a cutter?
- Cup + bottle cap. I’ve done worse in the kitchen.
Step 5 — Second rise
- Let them sit for 20–30 mins.
- They puff again.
- It’s like… magic but edible.
Step 6 — Fry time
- Oil hot — but not angry hot. Medium heat.
- Drop doughnuts gently… they float… they sizzle.
- Golden on one side. Flip. Golden again.
- Lift. Drain. Resist the urge to eat immediately.
- (This is the hardest step)
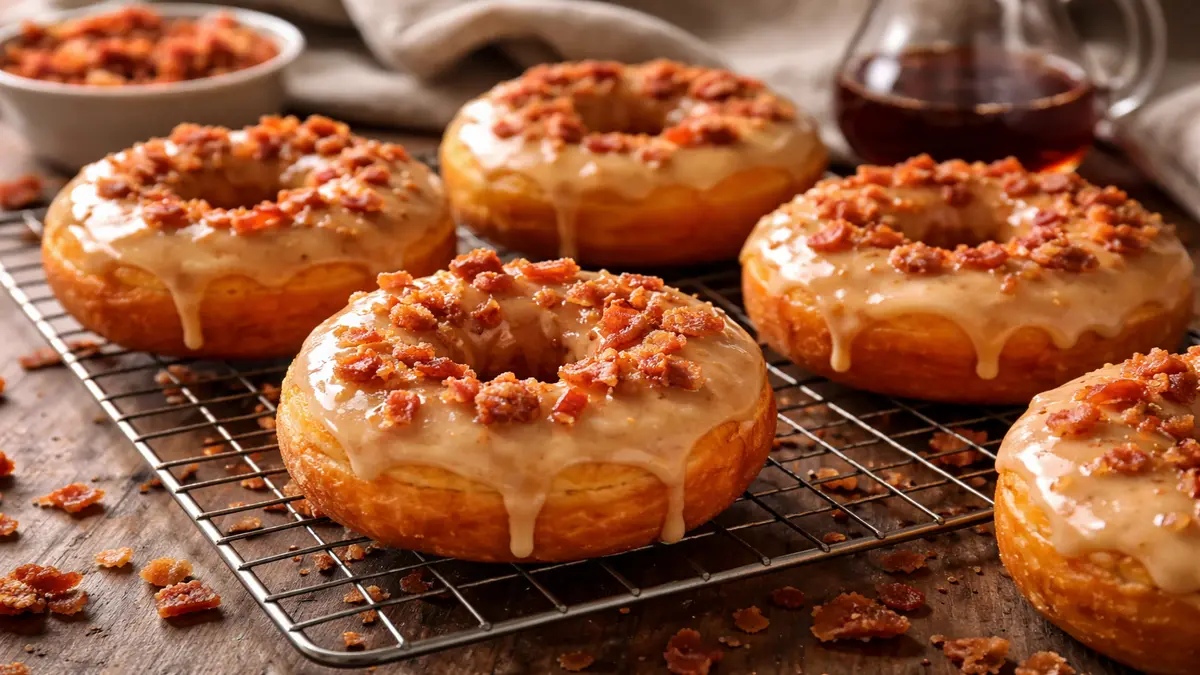
Step 7 — Maple glaze moment
- Whisk powdered sugar + maple syrup + tiny milk + pinch salt.
- Smooth. Glossy. Smells like cozy mornings.
- Dip doughnuts — top half only. Let the glaze drip.
- Now sprinkle bacon.
- And yeah… pause… admire.
- Take a bite.
- You get why we’re here.