Ingredients
Equipment
Method
Step 1 — Slice & Prep
- Don’t overthink it.
- Not too thick. Not paper-thin.
- Just… sensible slices.
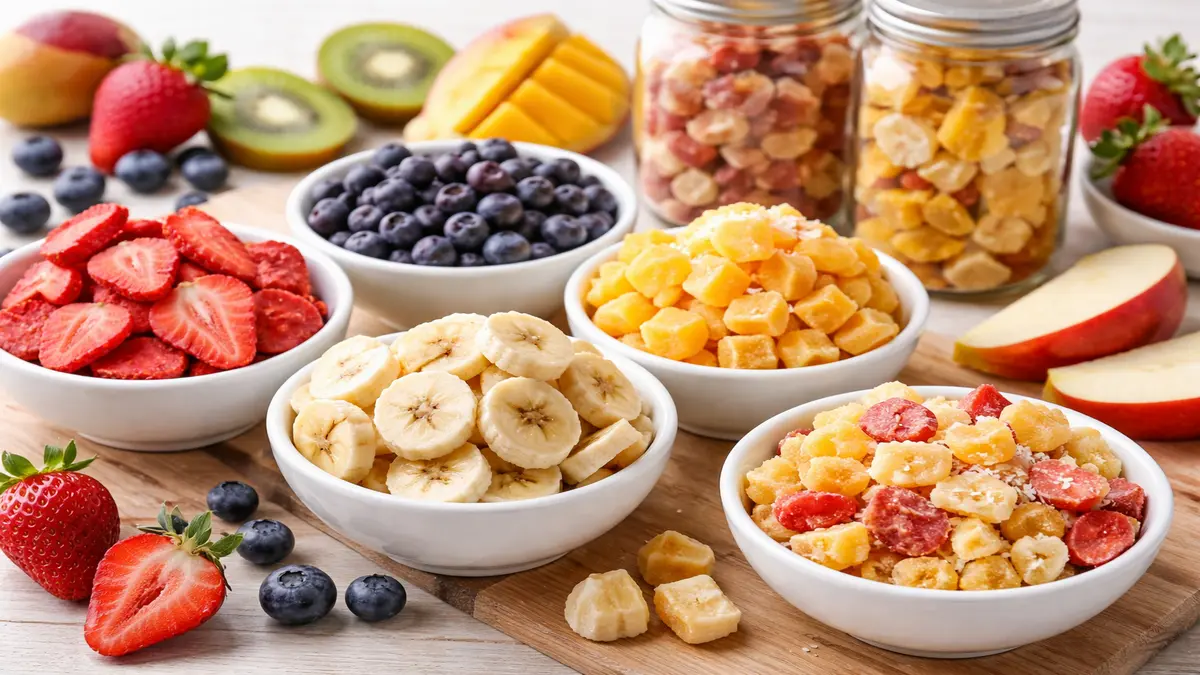
- Strawberries — halved or sliced
- Bananas — coin-shaped slices
- Apples — thin pieces (dip in lemon if browning annoys you)
- Mango — small cubes
- Kiwi — thin wheels
- Blueberries — whole
- Some pieces will be uneven.
- That’s okay.
- We’re not competing on symmetry here.
Step 2 — Pre-Freeze First (Trust Me On This)
- Lay fruit on trays.
- Single layer.
- Into the freezer.
- 6 to 12 hours.
- This step:
- keeps shape
- prevents collapse
- helps crispness
- stops mushy sadness
- I skipped it once.
- My fruit came out depressed.
- Don’t skip it.
Step 3 — Into The Freeze Dryer (Or “DIY” Drying Mode)
- If You’re Using A Freeze Dryer
- Spread fruit…
- But give them space — fruits like boundaries.
- Start the cycle.
- Then — you wait.
- And wait.
- And maaaybe wait some more.
- Some batches take 20–30+ hours.
- Sounds crazy — but when you snap that first strawberry slice… pure joy.
- Do the snap-test:
- Break a piece.
- If it bends — nope.
- If the inside feels cold — nope again.
- Give it more time.
- You’ll thank yourself later.
- If You’re Using Oven + Dehydrator
- Not the same — but still really good.
- Here’s how I do it:
- set oven to lowest heat (around 50–60°C / 120–140°F)
- leave the door slightly open
- dry slow… like… really slow
- transfer to dehydrator for finishing crunch
- You’ll poke a slice.
- Then you’ll stare at it like it’s hiding secrets.
- Then you’ll whisper… “maybe it’s ready?”
- It probably isn’t.
- Let it go longer.
- Yeah — I’ve had that conversation with myself too.
Step 4 — Cool Down… Then Seal
- This matters.
- Let fruit cool completely — room temperature — no rushing.
- Then store in:
- airtight glass jars
- or Mylar bags for long-term storage
- with oxygen absorbers if you’re serious
- Moisture sneaks back quietly.
- And once the crunch disappears…
- … heartbreak.
- Trust me on that.