Ingredients
Equipment
Method
Step 1 — Melt chocolate + butter
- I place both in a bowl over simmering water. Slow melt. No rushing.
- Steam rises. Chocolate softens. The smell fills the kitchen and I kinda zone out for a moment.
- Sometimes I microwave in tiny bursts when I’m impatient… but yeah — careful — burnt chocolate smells like heartbreak.
Step 2 — Whisk eggs + sugar
- In another bowl:
- eggs + egg yolks + sugar
- Whisk gently until:
- pale
- smooth
- not frothy
- somewhere in-between “runny” and “thick”
- I talk to myself at this stage. Happens automatically.
Step 3 — Combine melted chocolate into egg mixture
- Slow. Don’t dump.
- Trust me — I rushed once — scrambled the eggs — and I just stood there like… yeah… that hurts.
- So… pour gradually. Stir softly.
Step 4 — Add flour + pinch of salt
- Flour is just enough to hold structure. We’re not baking bread. We’re creating a warm chocolate hug.
- Salt? Tiny pinch. Brings flavor together. Like a quiet background note.
Step 5 — Grease ramekins + fill batter
- Generously grease. Dust flour lightly.
- Leave space on top. Cakes expand like they’ve got opinions.
- I tap the ramekin once — like a weird habit — just to settle air bubbles.
Step 6 — Bake
- Preheat oven to 200°C (392°F)
- Bake for 8–10 minutes.
- And here’s the emotional part:
- Edges should look firm
- Top should look baked
- Center should still look shy… slightly soft… a little wobbly
- Take them out earlier rather than later.
- Over-baked = chocolate sponge
- Under-baked = chaos but honestly… sometimes still tasty
- Let them rest for about a minute.
- Flip carefully.
- Hold your breath…
- Tap.
- Cake slides out.
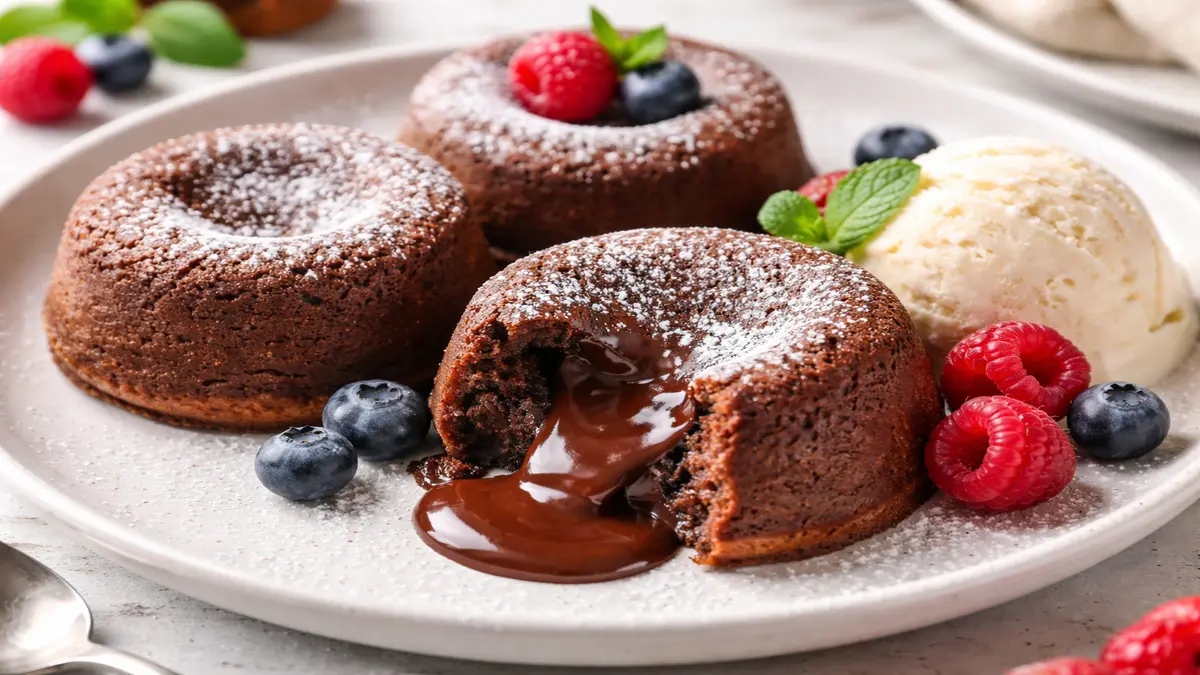
- Cut open.
- Chocolate flows.
- And for a second — everything feels right.