Ingredients
Equipment
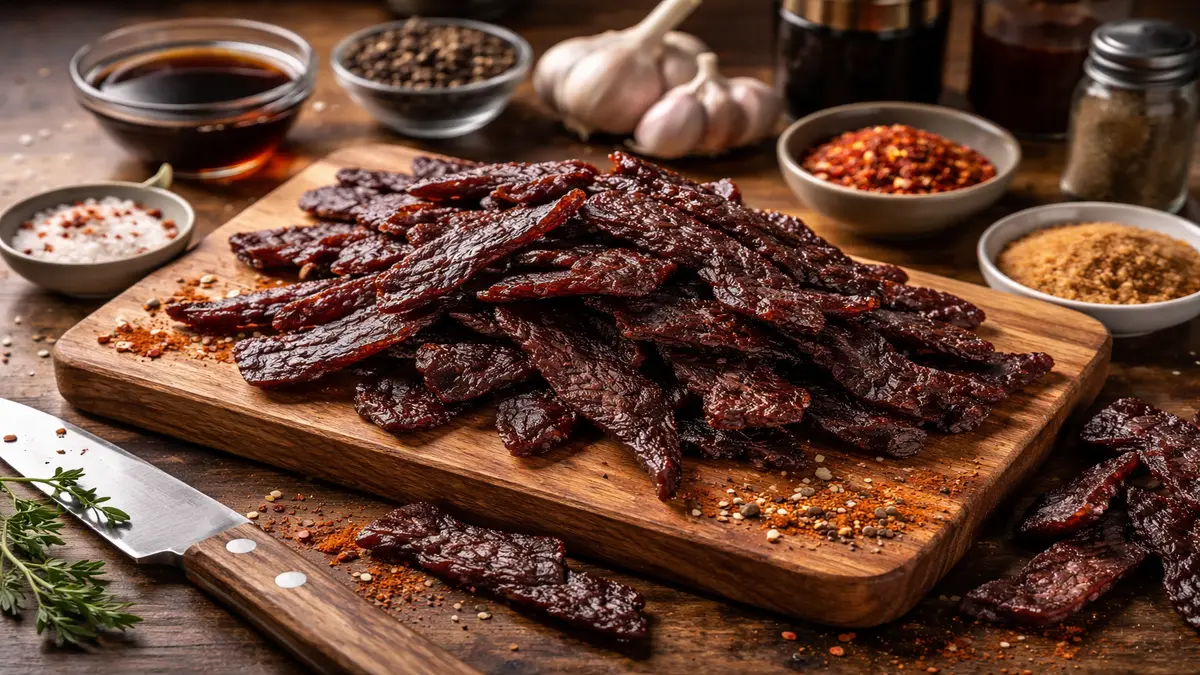
Method
Step 1 — Prep the Beef
- Take the beef out of the fridge.
- Look at it for a second… decide your plan.
- Trim the big visible fat strips — not every molecule — just the obvious ones (fat goes funky during drying… trust me).
- I usually think… “Okay… this batch needs thinner slices than last time.”
Step 2 — Partially Freeze It (Tiny but Helpful Trick)
- Pop the beef into the freezer for 30–40 minutes.
- Not rock-solid.
- Just firm.
- Makes slicing way easier. Saves your sanity.
Step 3 — Slice… Slowly
- Grab a sharp knife. Real sharp.
- Now:
- Slice against the grain if you want softer jerky
- Slice with the grain if you like rugged chew (jaw workout style… been there)
- Thickness guide:
- ¼ inch → crisp edges, snack-style
- ⅓ inch → classic chewy jerky
- If a slice looks too thick — I literally stop and go
- “nah… redo that… thinner.”
- No shame.
Step 4 — Pat Dry (Just a Little)
- Lay slices on a board or paper towel.
- Light pat.
- Not fully dry — just removing extra moisture.
- We’re avoiding the watery mess.
Step 5 — Make the Marinade
- Into a bowl:
- soy sauce
- Worcestershire
- sugar
- spices
- paprika doing its smoky magic
- I usually swirl it… pause… sniff…
- then go — “hmm… more pepper… yep.”
- Cooking instincts > measuring cups sometimes.
Step 6 — Mix the Beef In
- Drop slices into the bowl.
- Use hands — not just a spoon.
- Massage marinade in. Coat everything.
- Give each strip some attention.
- Tiny kitchen therapy session.
Step 7 — Marinate (The Hardest Part: Waiting)
- Seal the bowl or bag.
- Into the fridge.
- Minimum 6 hours
- Overnight = chef-level patience
- Resist opening the fridge every hour. I fail sometimes.
Step 8 — Prep for Drying
- Next day… open the bag.
- That smell? Yep. Worth it.
- Set the oven to 70–80°C (160–175°F).
- Place slices on a wire rack
- (no overlap — they need space… like introverts at parties).
- If you skip the rack — they sweat. I’ve ruined a batch like that.
Step 9 — Slow Dry Time
- Slide rack into oven.
- Leave door slightly open
- (I wedge a spoon… professional move, I know).
- Dry 3–6 hours depending on slice thickness.
- Don’t rush. Jerky hates rushing.
Step 10 — The Bend Test
- Pick a strip.
- Bend it.
- If it:
- bends… but doesn’t snap
- feels dry… but not brittle
- You smile… nod slowly… whisper
- “nice.”
- If it’s too soft → back in for a bit.
- Too hard → note the slice thickness for the next batch.
- Every batch teaches you something.
Step 11 — Cool It Down
- Let the jerky rest on the rack.
- No stacking yet.
- Warm strips trapped together = moisture disaster.
- Give it 20–30 minutes.
- Breathe. Snack on one.
- Admire your work like a proud scientist.
Step 12 — Store It Right
- Once fully cool:
- airtight jar or pouch
- small paper towel inside to catch moisture
- Storage rhythm:
- room temp → 3–5 days
- fridge → 2–3 weeks
- freezer → 2–3 months (only after cooling properly)
- And yeah — don’t freeze immediately.
- Steam + cold = sad jerky.
- Learned that… the hard way.