Ingredients
Equipment
Method
Let’s Make It – Step-by-Step (Human Style, Not Lab Manual)
- Alright, here we go. It’s about to get fun.
Step 1 – The Glue Base
- Pour your white glue into the bowl. Half a cup should do.
- Now add a tablespoon of lotion — that’s what gives it that soft, bendy texture.
- Drizzle in baby oil too. Don’t go wild — a little makes it glossy and smooth.
- Mix that around until it feels like you’re stirring thick syrup.
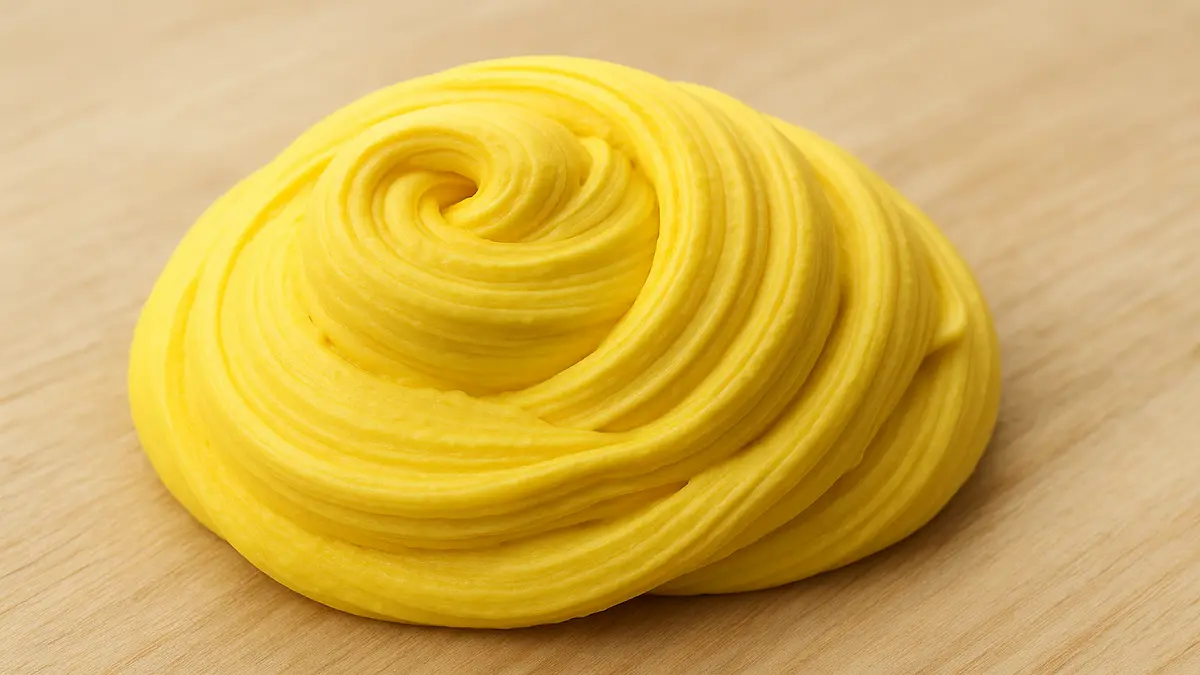
- If you’re using food coloring, drop it in now and stir. Yellow’s classic, but pink looks awesome too.
Step 2 – Fluff and Body
- Add your shaving cream — a couple spoonfuls.
- Then sprinkle in the baking soda and cornstarch.
- Mix again. It’ll start to thicken, kinda like cake batter.
- The cornstarch is the secret here — that’s what makes it “buttery” and not just regular slime.
- At this point, it’ll smell great, look weird, and feel sticky. You’re in the right place.
Step 3 – Activate the Magic
- Now the important bit — the contact lens solution.
- Add one teaspoon at a time.
- Stir slowly. You’ll notice it starts pulling away from the bowl edges. Keep mixing.
- Once it starts forming a blob, it's time — pick it up.
- Use your hands. Yeah, it’s sticky at first. Everyone freaks out the first time, but trust me — keep kneading.
- Work it like dough for a few minutes, and soon it’ll turn soft, smooth, and stretchy.
- Feels like frosting — not too wet, not crumbly.
Step 4 – The Clay Twist (Optional but Worth It)
- If you’ve got soft clay (like Model Magic or air-dry clay), mix in a chunk about the size of a ping-pong ball.
- Fold and squish it into your slime. It’ll change instantly — smoother, more spreadable.
- This step’s what makes it real butter slime. No clay = fluffy slime. Clay = buttery perfection.
- You’ll know it’s right when you press it down and it spreads slowly, like peanut butter on toast.